- Knowledge is power
- The Future Of Possible
- Hibs and Ross County fans on final
- Tip of the day: That man again
- Hibs and Ross County fans on final
- Spieth in danger of missing cut
This article will walk you thru on recovering an an AWS EC2 instance when it is stuck in a boot loop or is not coming up after Windows updates. there could be many reason where your instance is not coming up and since you don’t have to the console then it may be very difficult to get and see what may be causing the issue
How to use boot the troubled EC2 Windows instance by using the EC2Rescue tool.
How to restore AWS EC2 instance when windows is stuck in boot loop after the installing windows updates
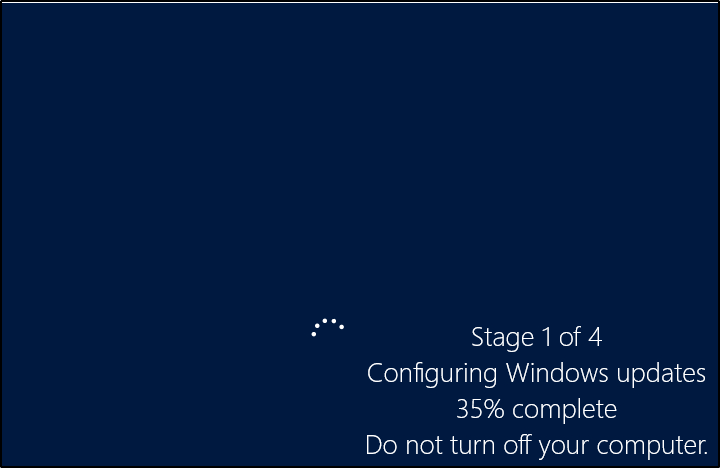
AWS support has tools that you can download and use to boot the server to the last known good option. I am going list out all the steps that you will need to perform to boot the server that is is not booting or stuck in a boot loop after Windows updates have been installed like the screen shot below
This does apply only to a Windows machines since Linux machines do not have the last known good option
Lets look at all the tasks that are involved in order to get the Windows instance to boot with last known good option
- You will need to another instance in the same zone. you can turn up a new one or use an existing one you have either will work.
- first you will need to power off the EC2 instance that is having the issue
- Once the instance is powered off you will need to detach the root volume
- Create a snap of the volume to be safe
- attached the volume to the instance that we discussed in the first bullet \
- download the AWS EC2 Rescue from the link below
https://s3.amazonaws.com/ec2rescue/windows/EC2Rescue_latest.zip?x-download-source=kc
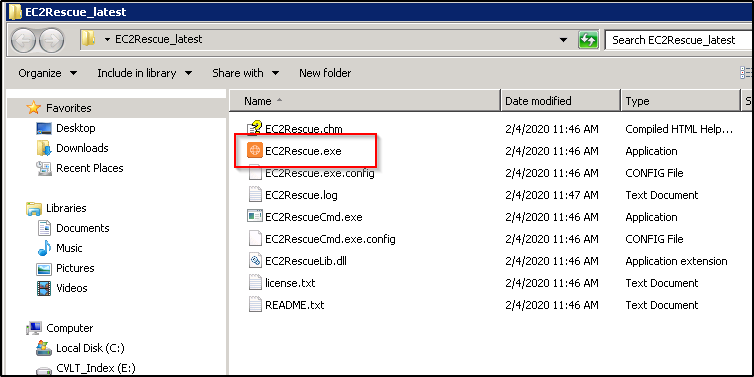
- Once it is downloaded and saved, extract the file to the folder and tun the “EC2Rescue.exe”. see the screenshot below for reference
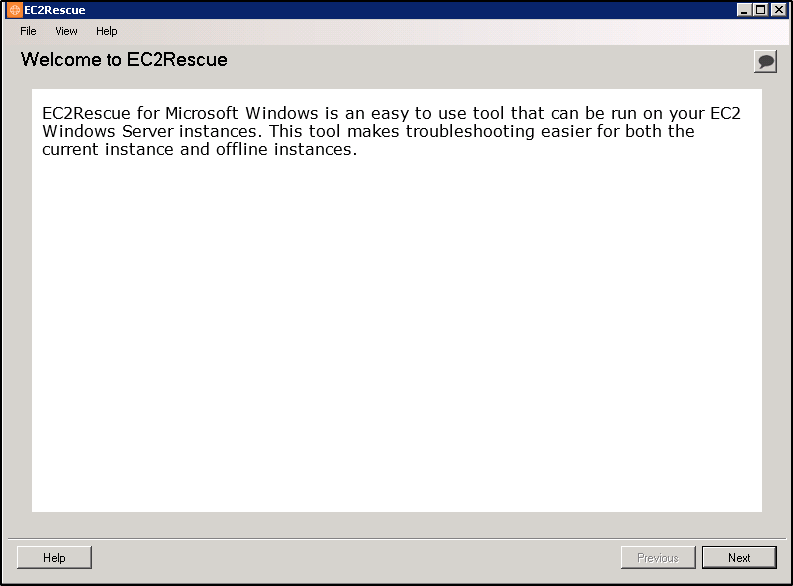
- Running the EC2Rescue.exe will take you the next screen seen in the picture below and it gives you some details on that It can be run online meaning the instance you are running on or an offline instance meaning that you have attached a root volume to the instance which is the case here
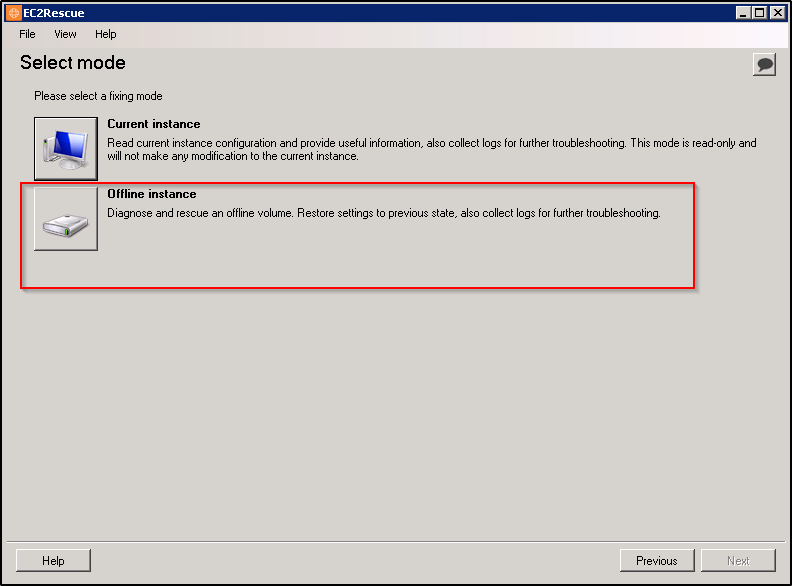
- In our case we will choose an offline instance and will pick a drive that we attached
- In the below screen as a next step, this is where you will need to choose the disk that you have attached and run the repair
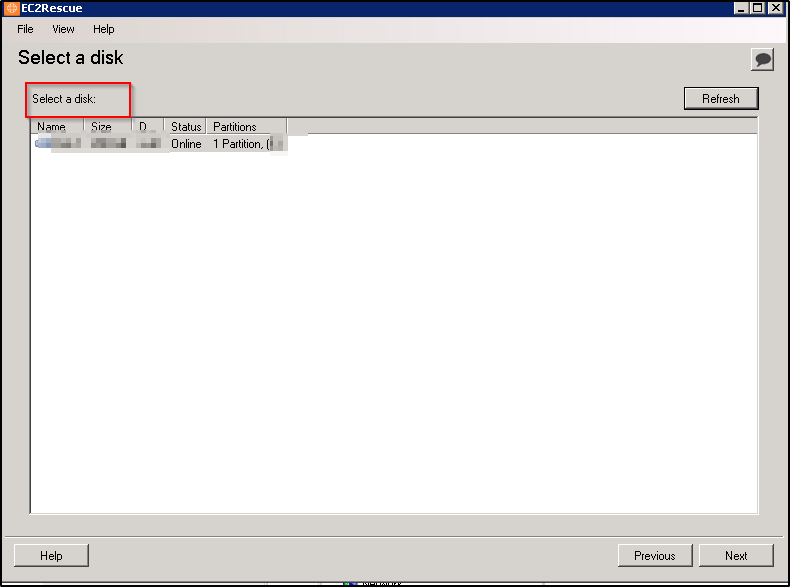
Once the repair is run which is pretty quick then you can remove the volume and attach it back to the impacted EC2 instance and power it on.
Please note the when attaching the volume you will need to change the letters as for root volume as “/dev/sda1” so it is attached as a root volume
If you need to some assistance on how to attach and detach the volume, you can see another link which walks thru the process of attaching and detaching volumes in a detail process – see the link below
https://awsarticles.com/how-to-expand-the-c-drivepartition-in-aws-step-by-step/
Thanks for reading this and I hope it helps and let me know if it changes and I will update the article