This article will walk you thru on the configuring the Pulse secure connect virtual appliance from scratch step by step from download to having it production.
You will need to download the appliance by going to the Pulse Secure support portal and choose the platform. in this case we are going to use VMWare to host the virtual appliance.
Once you have the install file downloaded then you will need to extract the files and “.ovf” file what you will need to kick off the install. extract the files from the zip folder “ps-pcs-vmware-psa-v-9.1r4.0-b4763-package.zip”

Now you will need to login in to the Virtual center to deploy the Pulse secure appliance
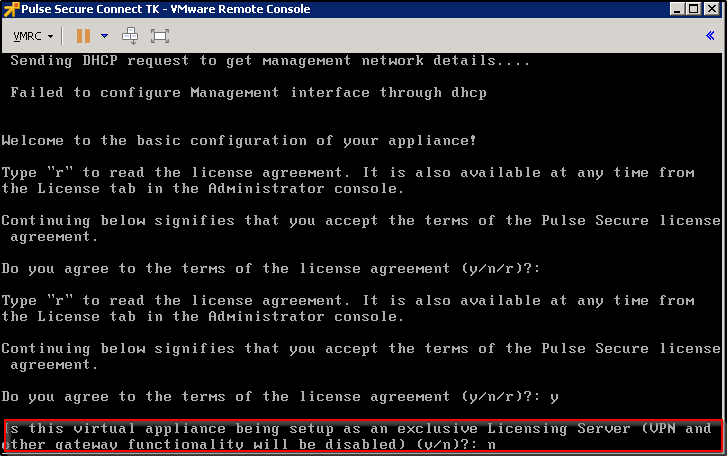
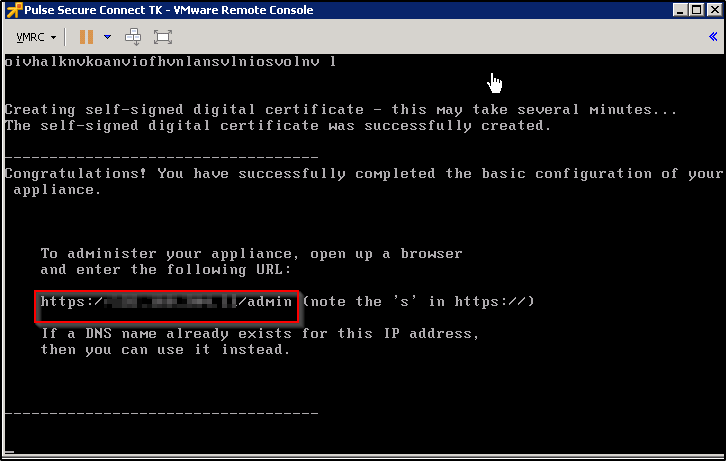
This will boot into the initial setup which is assigning IP and gateway for the initial access. below is where you will need to accept the agreement by typing “y”
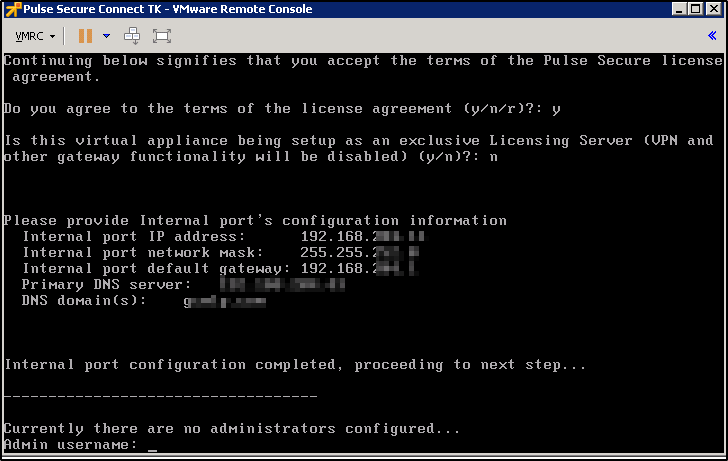
Below is where you will need to provide an IP address/subnet mask and the gateway and you will need to setup the username and password.
Now the appliance is ready to be configured by using the https://IP_address/admin
Now you start the any browser and type the IP address/admin to access the web page
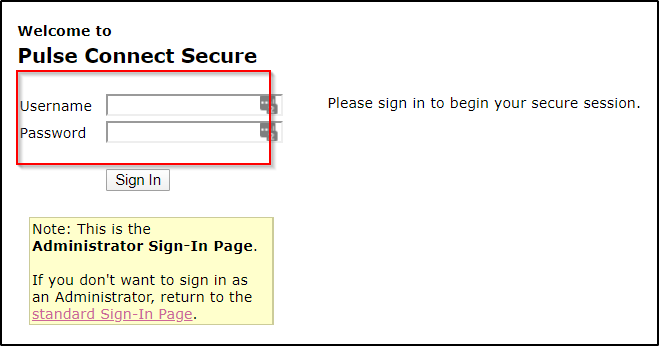
You can login using the admin and the password that was created in the previous step and below is the main screen that you can use to configure the appliance.

Thanks for reading this and let me if I should add the use configuration info