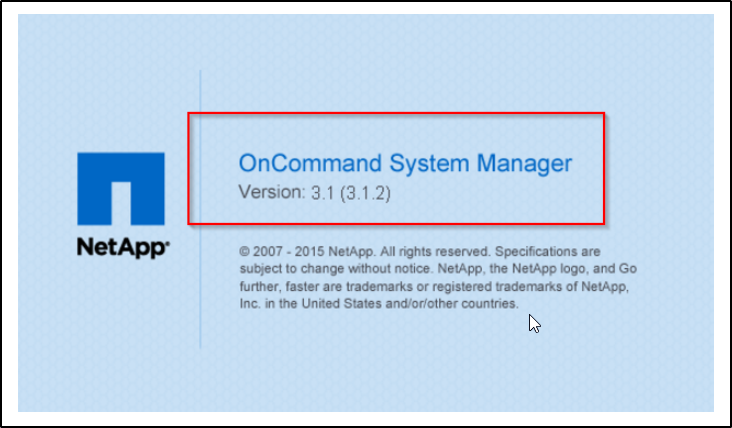
In this brief guide, we will provide step-by-step instructions for creating an aggregate using NetApp Systems Manager. To get started, you will need to download the “OnCommand Systems Manager” software from the official NetApp support site. Once you have successfully installed the system manager, simply double-click on the icon to launch it.
To access your account, use the provided login credentials. Additionally, remember to periodically update the IP address associated with your account on an annual basis.
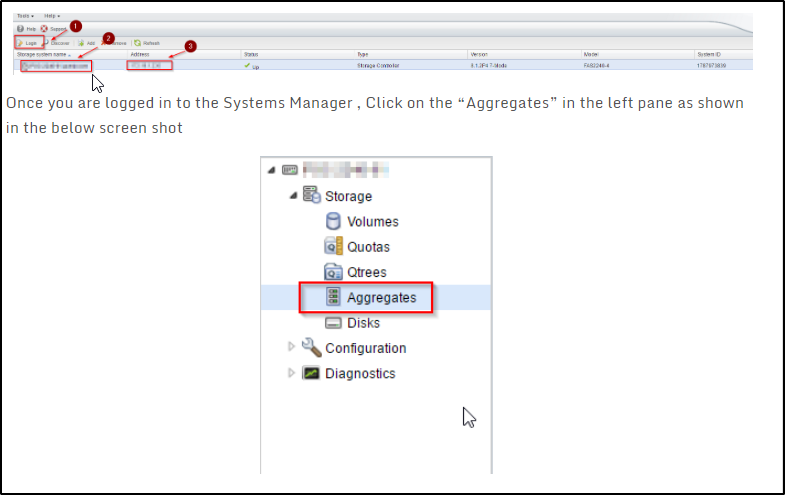
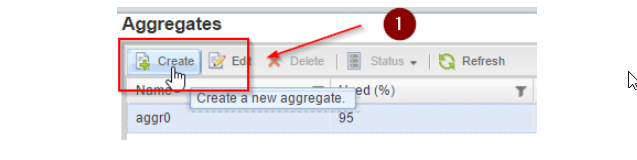
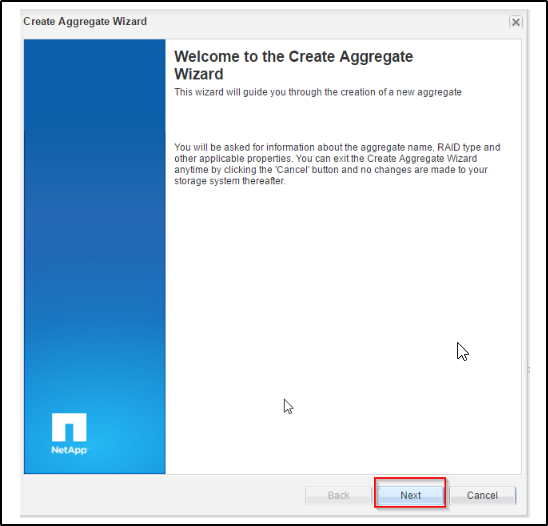
To initiate the creation of a new aggregate, simply click on the “Create” button and follow the prompts provided by the Wizard.
To proceed, click on the “Next” button.
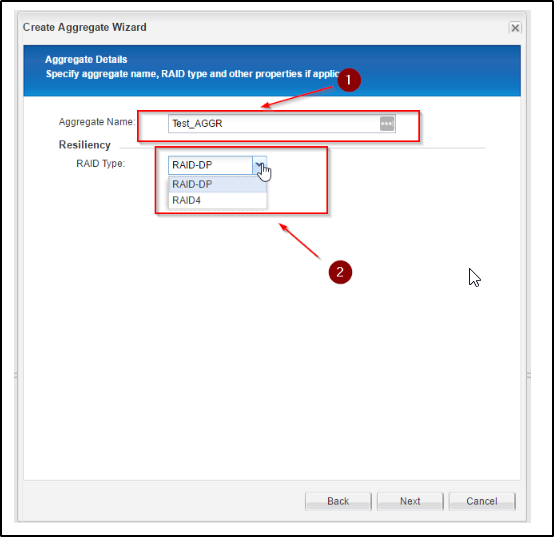
In the “Aggregate Name” field, provide a name for the aggregate. Additionally, select the desired RAID type. It is recommended to choose “RAID_DP” as the RAID type.
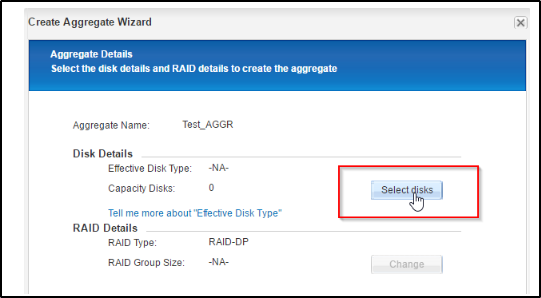
To select the physical disks that you wish to include in the aggregate, click on the “Select disks” option. This will open a menu or interface where you can browse and choose the specific disks you want to add to the aggregate. Take your time to carefully select the appropriate disks that meet your requirements and click on them to include them in the aggregate. Once you have made your selections, proceed to the next step in the process.
You will be presented with a list or display showing the physical disks that are available for selection. These disks are the ones that are currently accessible and can be utilized to build your aggregate. The list may include various details about each disk, such as disk size, model, serial number, and available capacity.
Carefully review the available physical disks listed before you. Take note of their specifications and ensure they meet your requirements for the aggregate you are creating. This may involve considering factors such as disk capacity, performance, redundancy, and any specific disk types recommended for your desired configuration.
Once you have assessed the available physical disks and determined which ones you want to include in the aggregate, proceed to select them using the provided interface or checkboxes associated with each disk. You can typically select multiple disks by checking the corresponding checkboxes next to their names.
After making your selections, confirm your choices and proceed to the next step in the process.
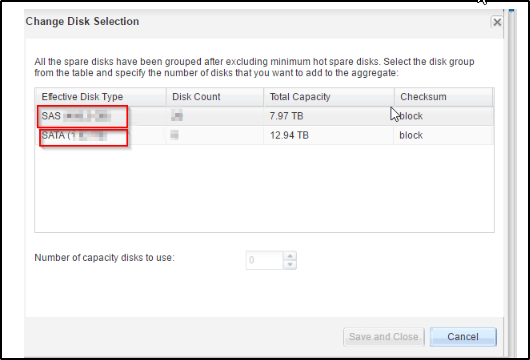
To proceed, you must specify the number of disks you wish to include in the aggregate. Select the desired number of disks from the available options provided. This step determines the quantity of disks that will be utilized in building the aggregate
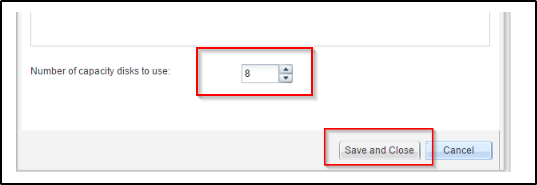
For this particular scenario, the aggregate will consist of 8 “SATA” disks that have been selected. To create the aggregate with the chosen disk configuration, click on the “Create” button. This will initiate the process of creating the aggregate using the specified disk setup.
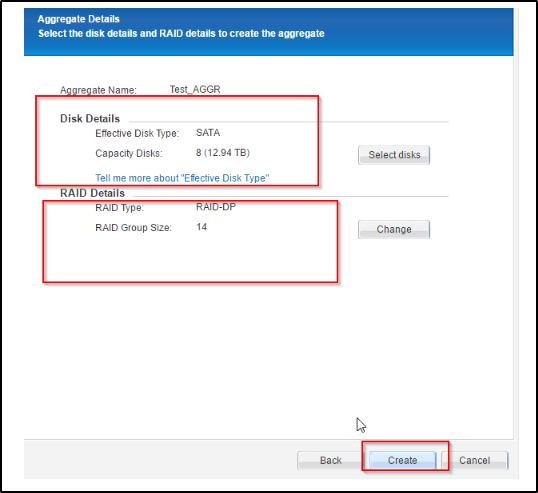
Below, you can observe a screenshot indicating the successful creation of the aggregate. This visual confirmation verifies that the aggregate has been created without any issues.

Thanks for reading