“Problem”
Why move the data to the SharePoint online from on-Premise file servers, below are some of the benefits on having the data online
- You don’t need a backup solution since the data is in the Microsoft cloud, it is backed up
- You don’t need to VPN into the corporate office to get access to the data, The data is available online and offline when travelling
- It also gives you the ability to sync to local laptop to have that traditional file explorer access
- It also gives you the version history on each documents for restoring the document if needed
“Solution”
You can migrate the data to the SharePoint online using the Microsoft SharePoint Migration Tool.
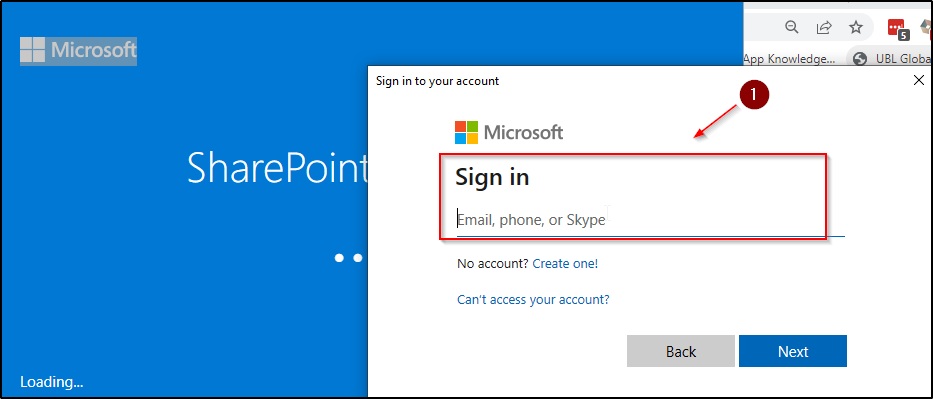
- Login to the SharePoint online portal by clicking on the SPTM.exe file
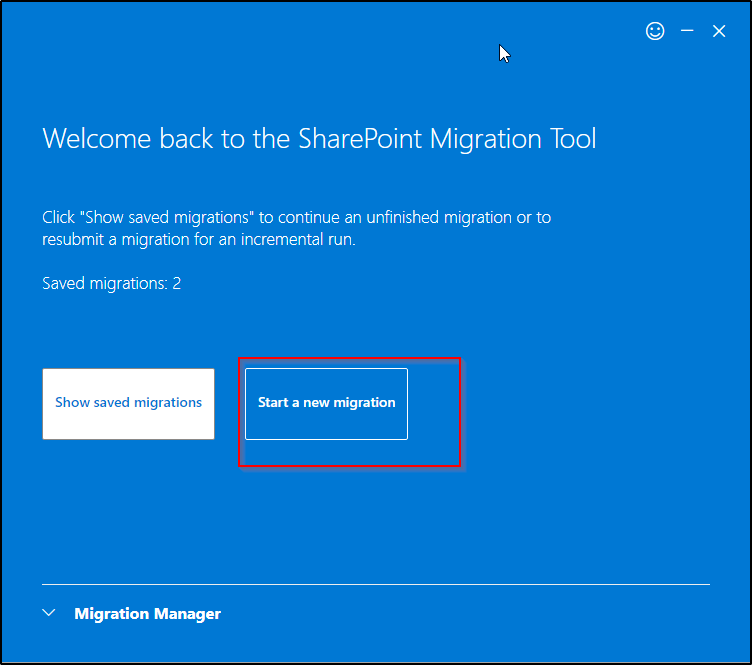
2. Start a new migration by clicking on the highlighted tab
3. Choose the “copy content from and choose “File share”

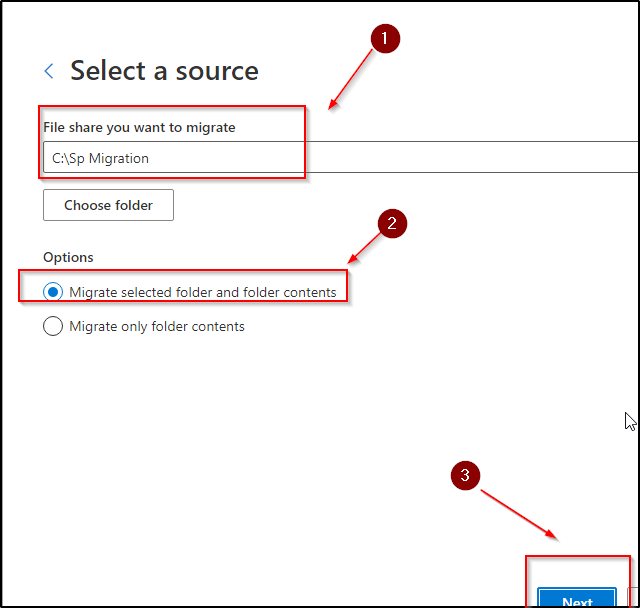
4. Browse to the source folder and choose the folder and click next to continue
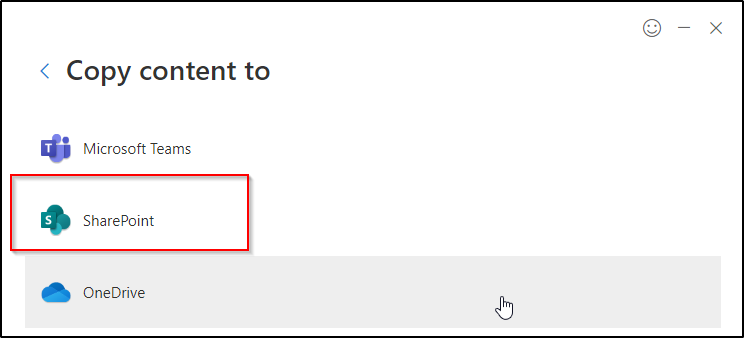
5. Choose Copy content to “SharePoint” as your destination
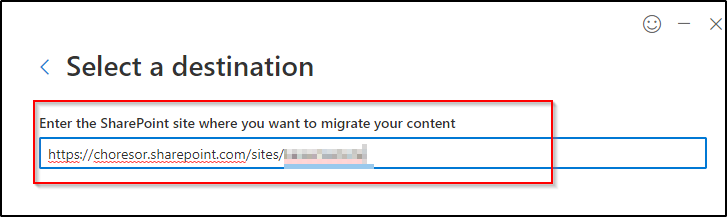
6. Copy and paste the SharePoint destination site location
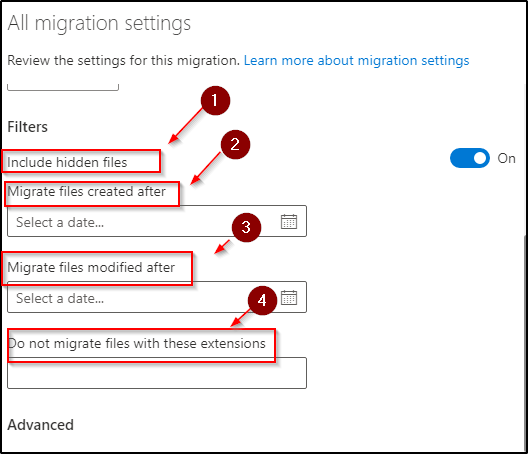
7. You can apply the filters as needed
- You can include or exclude the hidden files
- You have the option to migrate created after a certain date and time
- You also have the option to migrate file modified after a certain date and time
- You can filter out files that you don ‘t need by adding the extensions separating them by a colon
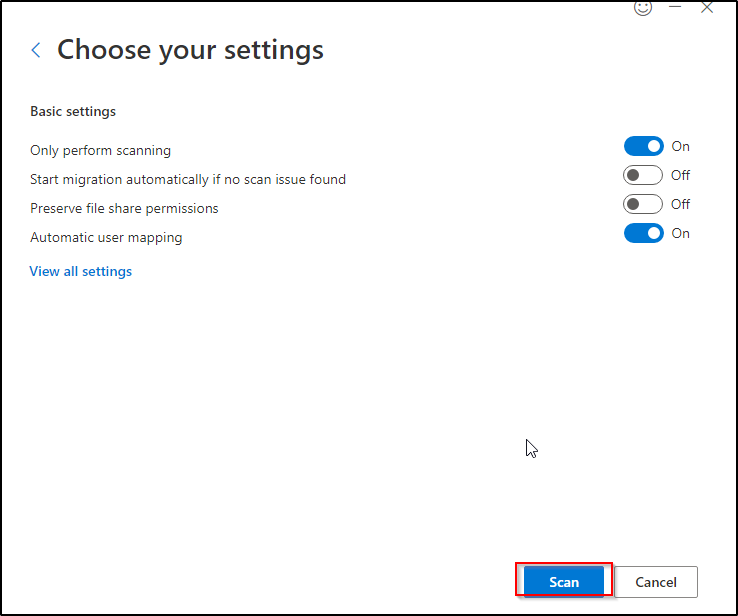
8. You can choose to scan only or scan first and then migrate if no issues are found.
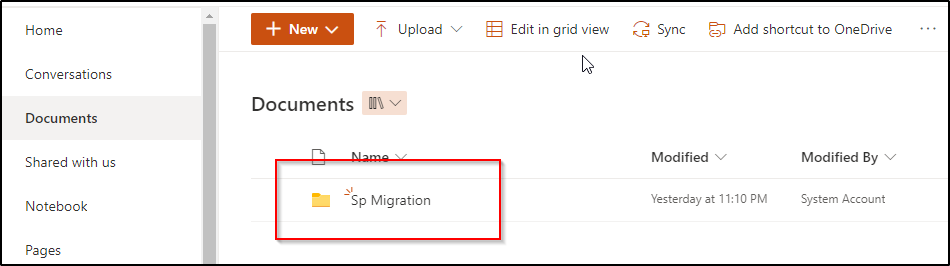
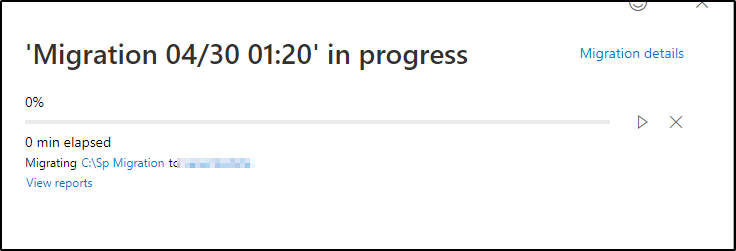
9. You will see the migration progress and once complete, it will show up in the SharePoint site
10. Login to your SharePoint site and you should see the folders that you migrated