This article will walk you thru on configuring the Cisco Anyconnect/ASA with Azure AD using saml and you can configure the Azure conditional access polices to use the Microsoft Authenticator as part of this. This assumes that you already have an AAD tenant in Azure and replicating your users to AAD.
Login to the Azure AD portal by going to https://portal.azure.com.
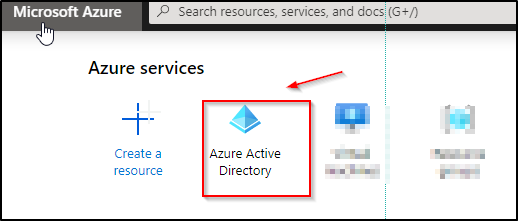
once you are logged in, navigate to “Azure Active Directory“.
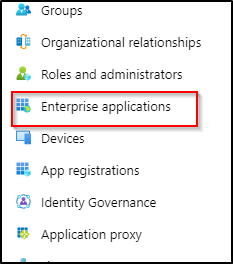
Once you are in Azure Active Directory, choose “Enterprise applications” on the left pane.
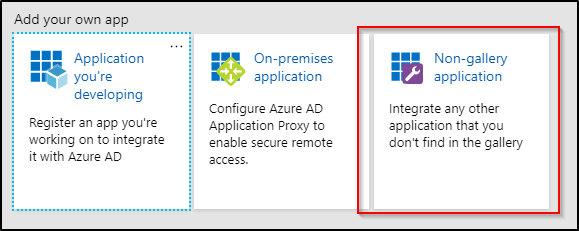
Click on the + sign to add the “New application”.

Choose the “non-gallery application” to create the new application.
Once the application has been created, in the left pane, Go to “single sign on” and choose “SAML”
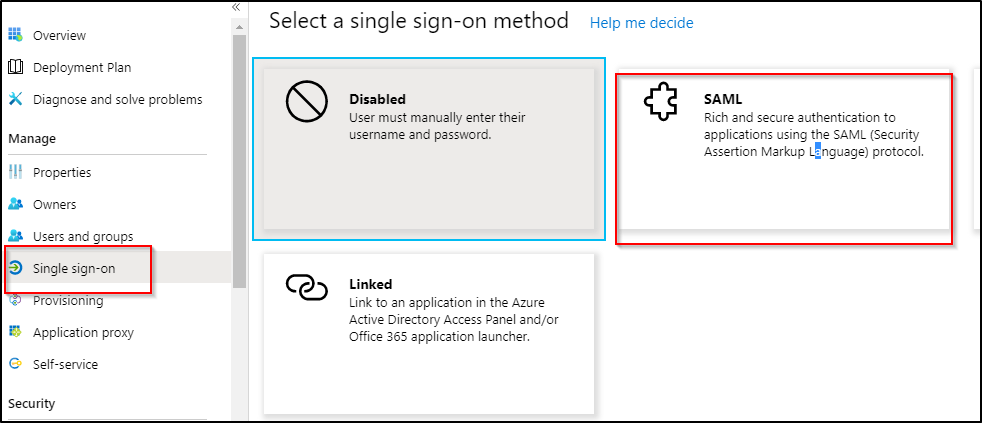
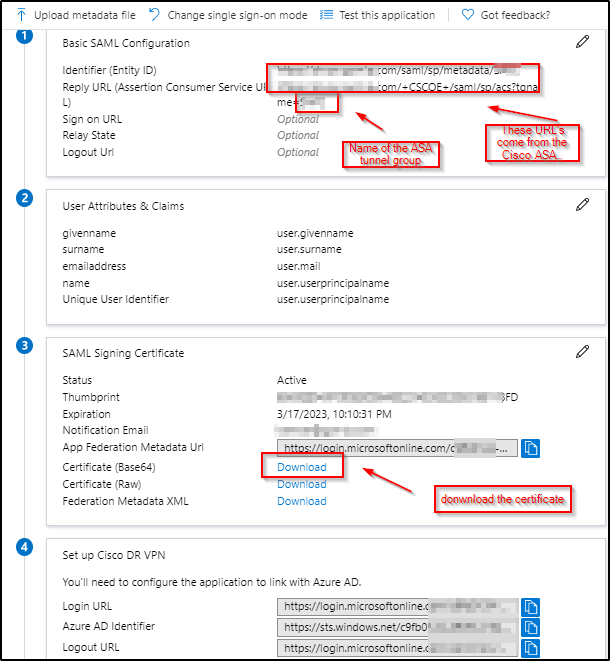
once you click on the SAML, below are the settings that you will see.
Section 1: Entity ID and reply url are needed form the ASA metadata file from the ASA.
Section 2: no need to change anything in section 2
Section3: Download the base64 certificate that you will need to add to your Cisco ASA.
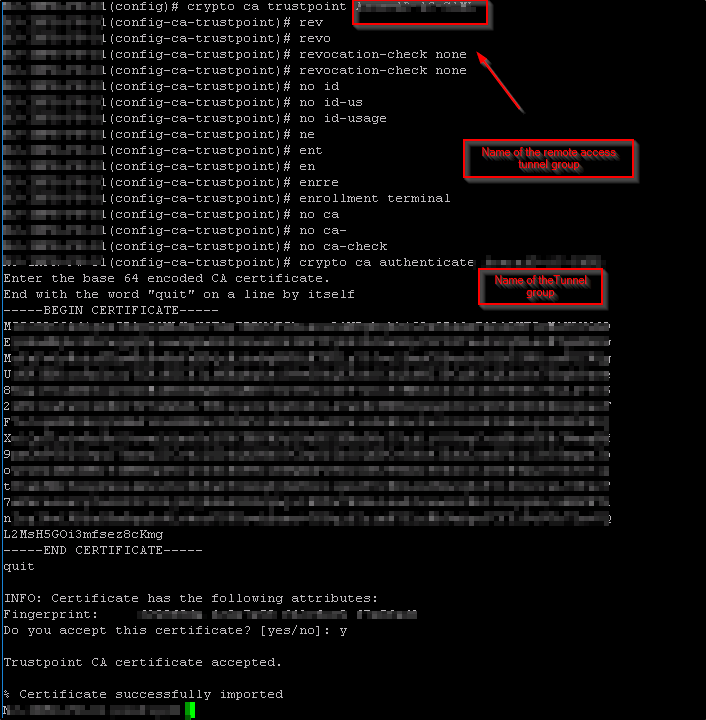
Below are the commands that you will need to add in the Cisco ASA with the values driven from the Azure application to create a trustpoint for AAD.
The certificate that you downloaded, open it with notepad and copy the text. below is where you will need to add the text after the “crypto ca authenticate “name of the tunnel group”.
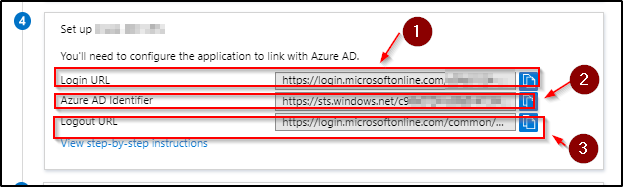
Now you need to add the IDP which is Azure active directory in this case.
below are the commands that you need to add the in the Cisco ASA.
- Add the Azure Identifier from #2 “saml idp https://sts.windows.net/xxxxxxxxxxx/”
- Add the login url from #1 “url sign-in https://login.microsoftonline.com/xxxxxxxxxx/saml“
- Add the the logout url from # 3 “rl sign-out https://login.microsoftonline.com/common/wsfederation?wa=wsignout1.0“
   4. trustpoint idp "name of the Tunnel group"
   5. trustpoint sp and you can use the trust point with the existing cert
   6. no force re-authentication
   7.  no signature
   8. base-url https://test.domain.com
see the screenshot for reference.

Now add the IDP config on the tunnel group.
tunnel-group "name of the tunnel gtoup" webvpn-attributes
saml identity-provider https://sts.windows.net/xxxxxxx/
authentication saml

Once this is completed then you will need to get the values that you will need to add to Azure by downloading the metadata xmlfile from the ASA.

link to see the SAM settings on the ASA

https://vpn.test.com/saml/sp/metadata/name of the tunnel group

Thanks for reading this and let me know any feedback.